
Reporting
The Reporting Module lets you generate reports about nearly any kind of metrics within CORE. You can create and save templates to customize your reports, and schedule them to be run automatically at desired times.
Filters
Filters select the subjects that report data will be shown about. You must select at least one filter in order to create a Report.
Adding Filters
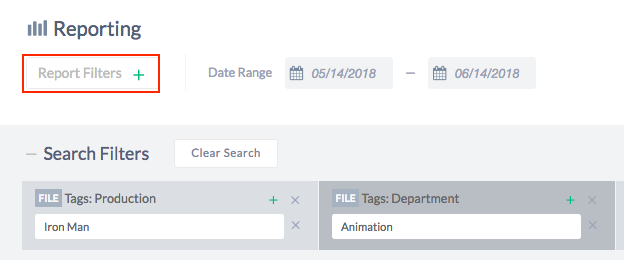
To add a Filter, click the "Report Filters button.
File Filters
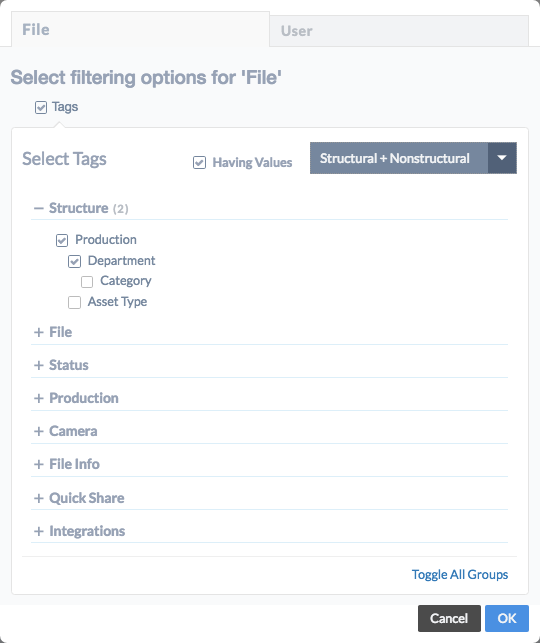 For Files, you can select any of the metadata fields that have been defined in the Tag Structures Module.
If you'd like to only show fields that have at least one value, click the "Having Values" button.
Use the dropdown to select between Structural Fields, Non-Structural Fields, or both Structural and Non-Structural Fields. See Tag Structures for more information.
Note that adding nested Fields will also add all parent Fields above it.
User Filters
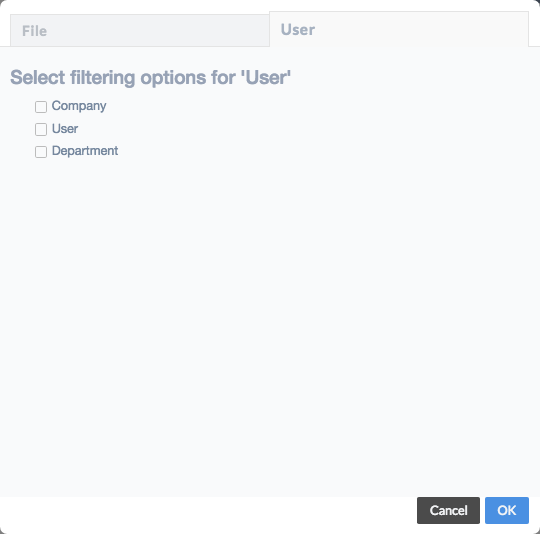 Select User attributes from the Users tab to filter results to Users matching the selected filters.
Modifying Filters
 After adding Filters, you must select at least one value from those available. To add a new Filter Value, click the green button at the top of the Filter. To remove a Filter Value, click the button next to it.
To remove a Filter entirely, click the button at the top of the Filter.
To remove all Filters, click "Clear Search."
Date Range
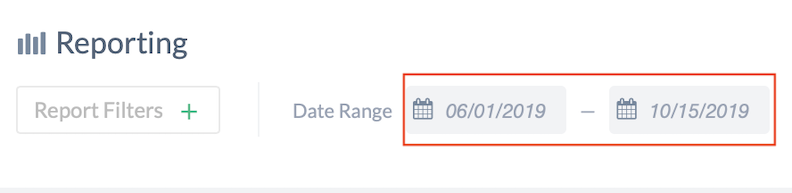 Use the Date Range selectors to set a range for your report results.
Reports
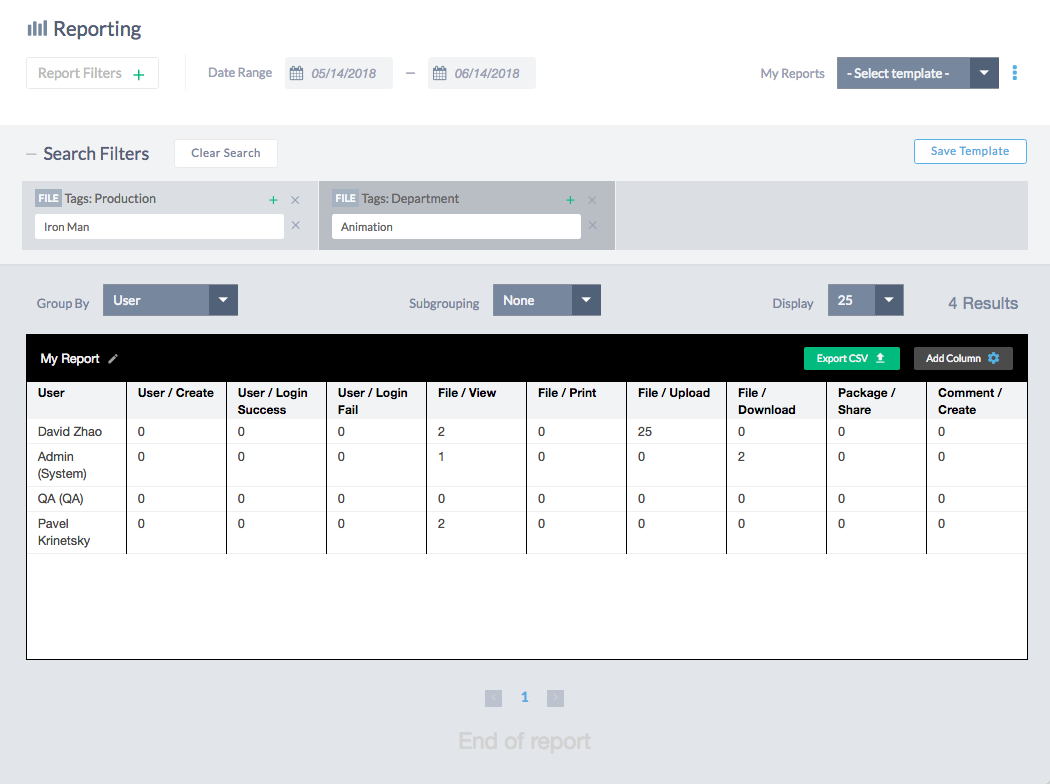
 After setting at least one Filter Value, your report will appear. Use the available options to customize how your data is presented.
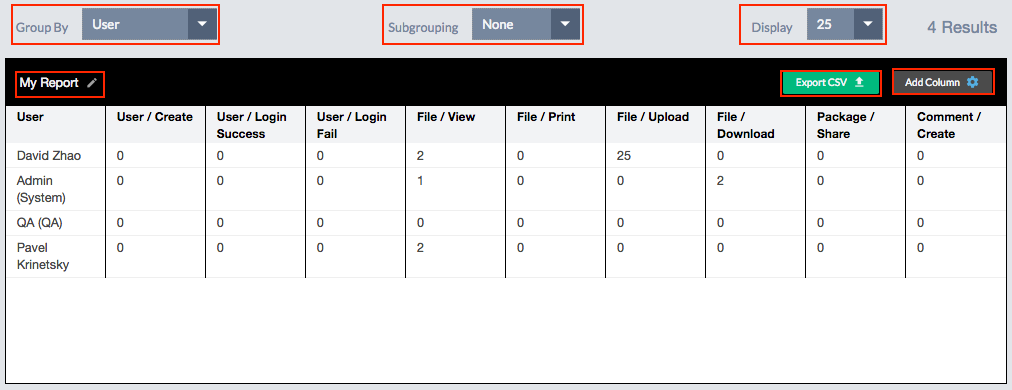
Grouping Reports
By default, results will be lumped together, displaying total values, which may not be what you want. To separate your results into more granular details, add a Grouping.
- User: Group by User who performed the action
- Company: Group by Company of User who performed the action
- Department: Group by Department of User who performed the action
- Date: Group by Date. You can further choose to group by Month or Year
- File: Group by File Metadata Field. Once this has been selected, you can select which Field to group by.
Subgroups
If you have chosen any Grouping other than Date, you can sort your results into Subgroups by Date by selecting Month or Year from the Subgroup dropdown.
Display Count
Select the number of results to display per page.
Changing Columns
Click the Add Column button to select which columns are displayed in the report. Check fields to add them to the report, or un-check them to remove them from the report.
Renaming Reports
Click the icon next to the report name to change its name. Click Save when you're done, or Cancel to revert your changes.
Exporting to CSV
Click the Export CSV button to download a CSV file of the report.
Templates
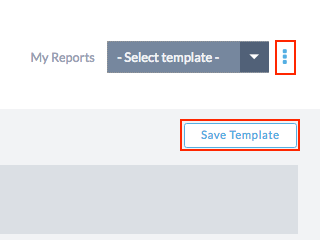 Templates allow you to save a custom report that you have created, recall it later, and schedule it to be run at specified times.
Saving Reports
Click the Save Template button to save your current report. It will be saved and added to the My Reports dropdown.
Viewing Saved Reports
Select an existing report from the My Reports dropdown to view it.
Deleting Saved Reports
Select an existing report from the My Reports dropdown, then click the button and select Delete.
Scheduling Reports
Once you have saved a Report, you can schedule it to be run at specified times.
This feature is coming soon.